
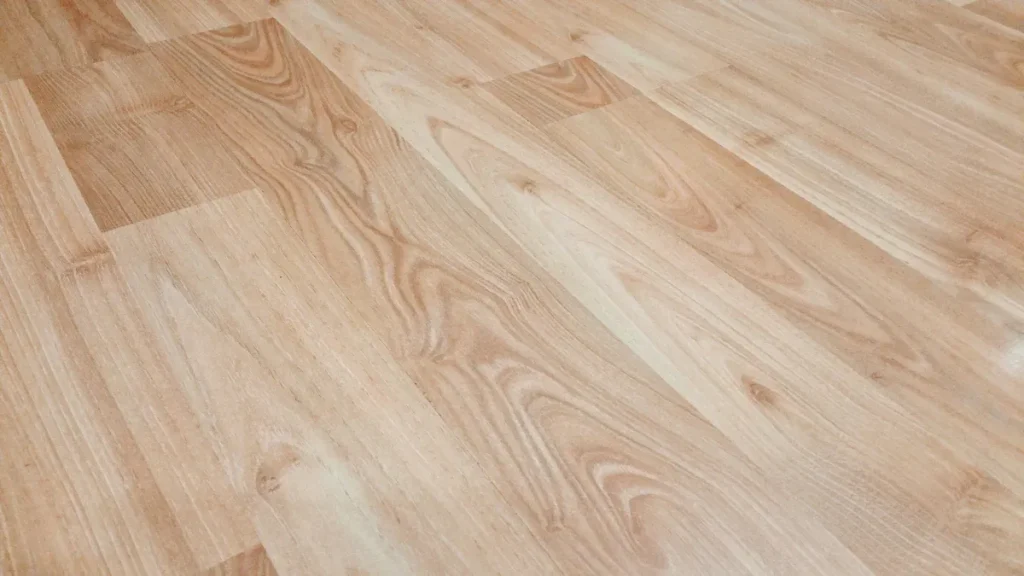
The number of coats of polyurethane you apply to wood floors directly impacts their durability and appearance. Water-based polyurethane typically requires 3-4 coats to achieve a smooth and protective finish. In contrast, oil-based polyurethane usually needs 2-3 coats for optimal results. Historically, contractors applied up to five coats of water-based polyurethane. However, advancements in formulations now allow you to use one coat of sealer followed by 2-3 coats of a high-quality water-based finish. Proper application ensures your floors remain protected while maintaining their polished look.
Key Takeaways
- Put on 3-4 coats of water-based polyurethane for strong floors.
- Use 2-3 coats of oil-based polyurethane for good protection and shine.
- Sand between coats to help them stick and look smooth.
- Think about how much the floor is used; busy areas may need more coats.
- Take care of your floors and recoat them to make them last longer and stay nice.
Types of Polyurethane for Wood Floors
Water-Based Polyurethane
Benefits of water-based polyurethane
Water-based polyurethane offers several advantages. It dries quickly, allowing you to complete your project faster. This type of polyurethane has minimal odor, making it more comfortable to work with indoors. It also dries clear, preserving the natural color of your wood floors. This feature is especially beneficial for light-colored hardwoods. Additionally, water-based finishes are easier to clean up since you only need soap and water.
Water-based polyurethane is also eco-friendly. Many products meet certifications like GREENGUARD and FloorScore, ensuring low emissions and safer indoor air quality. These certifications guarantee that the product has undergone rigorous testing for safety and performance.
Drawbacks of water-based polyurethane
Despite its benefits, water-based polyurethane has some limitations. It is less durable than oil-based options, making it more prone to scratches and dents. You may need to apply more coats—typically 3-4—to achieve the same level of protection as oil-based finishes. While it dries quickly, this can make it challenging for beginners to apply evenly. Additionally, water-based polyurethane is less effective at enhancing the wood’s natural warmth and richness.
Oil-Based Polyurethane
Benefits of oil-based polyurethane
Oil-based polyurethane is known for its exceptional durability. It resists scratches and wear better than water-based options, making it ideal for high-traffic areas. This type of polyurethane adds a warm, amber glow to your wood floors, which deepens over time, enhancing their natural beauty. With proper maintenance, oil-based finishes can last between 3 to 10 years, providing long-lasting protection.
Drawbacks of oil-based polyurethane
The main drawback of oil-based polyurethane is its longer drying time. Each coat requires about 24 hours to dry, and the full curing process can take up to 14 days. It also emits higher levels of VOCs, which can affect indoor air quality. Cleanup requires mineral spirits, which can be less convenient than soap and water. Additionally, oil-based finishes are slightly more expensive than water-based ones.
Choosing the Best Polyurethane for Hardwood Floors
Factors to consider when selecting polyurethane
When choosing the best polyurethane for hardwood floors, consider factors like durability, drying time, and environmental impact. Oil-based polyurethane is better for high-traffic areas due to its superior durability. However, water-based options are safer for homes with children or pets because they emit fewer chemicals. If you need a quick turnaround, water-based finishes dry faster, allowing you to use the space sooner. For DIY projects, water-based polyurethane is easier to apply and clean up.
Comparing water-based and oil-based options
| Feature | Oil-Based Polyurethane | Water-Based Polyurethane |
|---|---|---|
| Durability | High, resists scratches and wear better. | Moderate, more prone to scratches. |
| Drying Time | 24 hours per coat, 14 days to cure. | 2-4 hours per coat, 7 days to cure. |
| Appearance | Warm, amber glow that deepens over time. | Clear, preserves natural wood color. |
| Environmental Impact | Higher VOC emissions. | Lower VOC emissions, eco-friendly. |
Both types have their strengths and weaknesses. Your choice depends on your specific needs, such as the level of traffic in the area and your preference for appearance and drying time.
Recommended Coats of Polyurethane for Wood Floors
Water-Based Polyurethane
Why 3-4 coats are ideal
Water-based polyurethane is thinner than its oil-based counterpart. This consistency means you need more coats to achieve the same level of protection. Applying 3-4 coats ensures your wood floors have a durable finish that resists wear and tear. Industry studies recommend four layers for optimal results, as insufficient layers can lead to a poor finish. More coats also enhance the appearance of your hardwood floors, giving them a polished and professional look.
Tips for applying water-based polyurethane
To get the best results, start by preparing the surface. Sand the wood floors thoroughly and clean up all dust. Use a high-quality synthetic brush or foam applicator to apply thin, even coats. Allow each coat to dry for 2-4 hours before lightly sanding with fine-grit sandpaper. This step ensures a smooth surface for the next layer. Repeat the process until you’ve applied 3-4 coats of water-based polyurethane. Remember to work in a well-ventilated area to speed up drying and maintain air quality.
Oil-Based Polyurethane
Why 2-3 coats are sufficient
Oil-based polyurethane has a thicker consistency, which allows it to provide excellent protection with fewer coats. Applying 2-3 coats is usually enough to achieve a durable finish that resists scratches and stains. This type of polyurethane also enhances the wood’s natural warmth, giving it a rich, amber glow. For high-traffic areas, consider adding an extra coat to ensure long-lasting durability.
Tips for achieving a smooth finish with oil-based polyurethane
Begin by sanding and cleaning the wood floors to remove imperfections. Use a natural bristle brush or lambswool applicator for even application. Apply thin coats, moving with the grain of the wood. Allow each coat to dry for at least 24 hours before sanding lightly. This step helps eliminate bubbles or uneven spots. After applying the final coat, let the floor cure for up to 14 days to achieve maximum durability.
Factors Influencing the Number of Coats
Wood type and condition
The type and condition of your wood floors play a significant role in determining the number of coats needed. Softer woods may require additional layers for adequate protection. If your floors are old or heavily worn, you might need more coats to restore their appearance and durability. Always assess the specific needs of your project before deciding on the number of coats.
High-traffic areas and commercial settings
High-traffic areas, such as hallways or kitchens, demand extra protection. In these spaces, consider applying an additional coat of polyurethane to enhance durability. Commercial settings, where floors endure constant use, may also benefit from more layers. Oil-based polyurethane is often the better choice for these environments due to its superior resistance to wear and tear.
Best Practices for Applying Polyurethane
Preparing the Wood Floors
Cleaning and sanding the surface
Proper preparation of your wood floors is essential for a smooth and durable polyurethane finish. Start by cleaning the surface thoroughly to remove dust, dirt, and debris. Use a vacuum or a damp cloth to ensure no particles remain. Sand the floor with fine-grit sandpaper to eliminate imperfections and old finishes. This step helps the polyurethane adhere better to the wood. After sanding, repair any cracks or holes to create an even surface.
Ensuring a dust-free environment
A dust-free environment is crucial when applying polyurethane. Dust particles can settle on the wet finish, causing imperfections. Before starting, clean the room thoroughly, including windowsills and corners. Use a damp mop or cloth to capture any remaining dust. Close windows and doors to prevent airflow from bringing in new particles. A clean workspace ensures a flawless finish.
Application Techniques for Polyurethane
Choosing the right tools (brush, roller, or applicator)
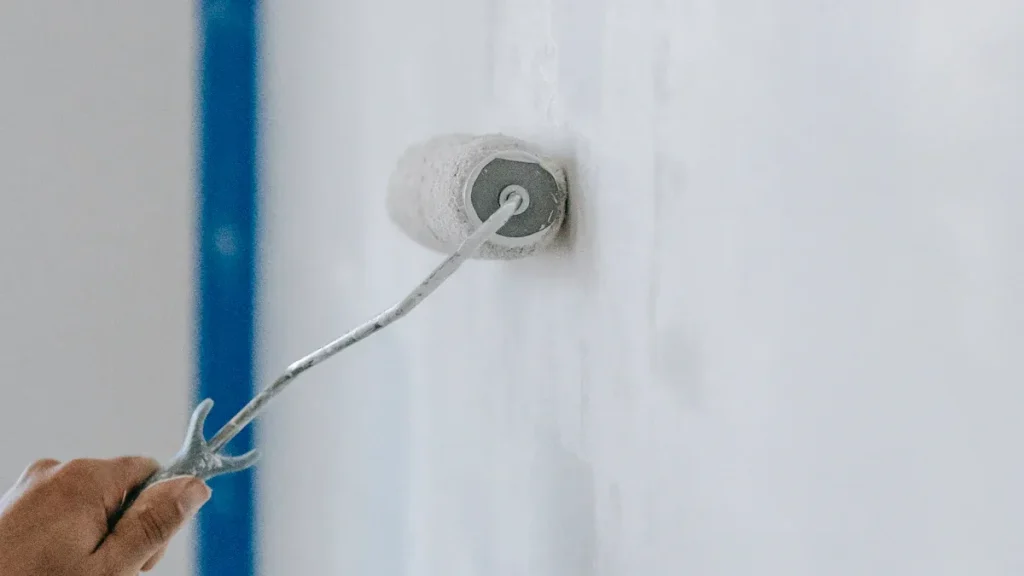
The tools you use significantly impact the quality of your polyurethane application. High-quality brushes, microfiber rollers, or foam applicators work best. For water-based polyurethane, synthetic brushes or foam applicators provide smooth coverage. Oil-based polyurethane pairs well with natural bristle brushes or lambswool applicators. Investing in quality tools ensures a professional finish and reduces streaks or bubbles.
Applying thin, even coats for a smooth finish
Thin, even coats are key to achieving a polished look. Apply the polyurethane in the direction of the wood grain. Avoid overloading your brush or roller, as this can lead to drips and uneven coverage. Allow each coat to dry completely before lightly sanding with fine-grit sandpaper. This process removes any imperfections and prepares the surface for the next layer. Repeat until you achieve the desired number of coats.
Drying and Curing Times
Allowing proper drying time between coats
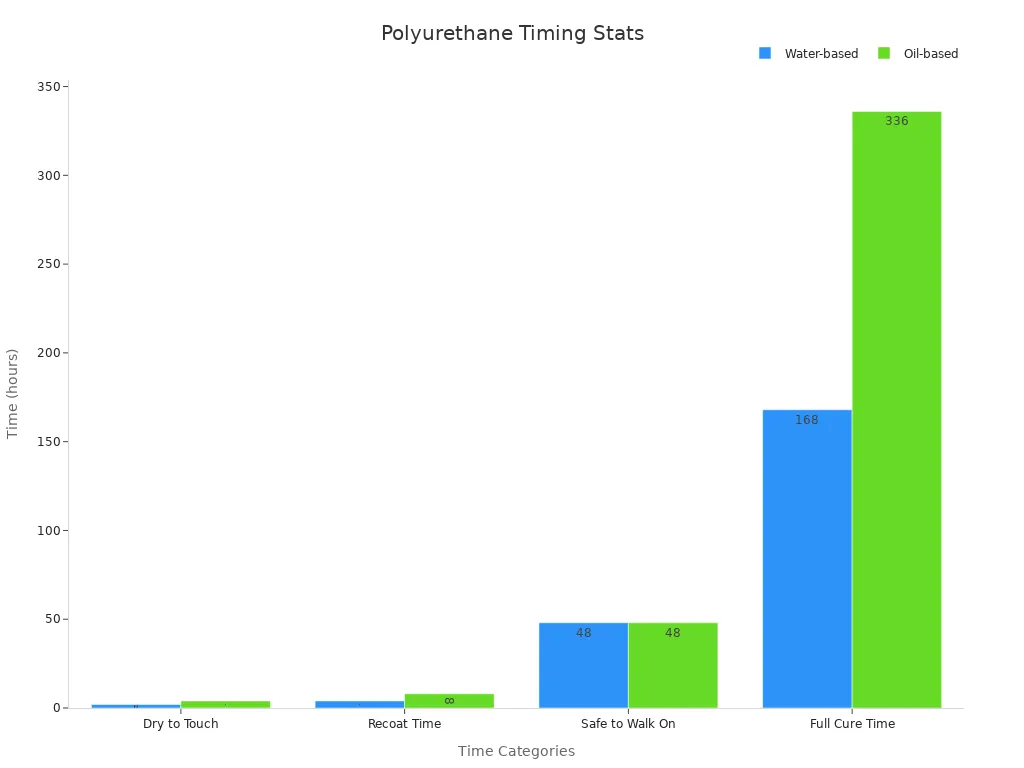
Drying time between coats varies depending on the type of polyurethane. Water-based finishes typically dry to the touch in 2 hours and are ready for recoating in 4 hours. Oil-based finishes take longer, requiring 4 hours to dry and 8 hours before recoating. Following these guidelines ensures each layer bonds properly, enhancing the durability of your floors.
Full curing time for maximum durability
Curing time is essential for the polyurethane to reach its full strength. Water-based polyurethane cures fully in about one week, while oil-based finishes take up to two weeks. During this period, avoid placing heavy furniture or rugs on the floor. Proper curing ensures maximum durability and a long-lasting finish.
Special Considerations for High-Traffic Areas
Adding Extra Coats of Polyurethane
When to apply additional coats
High-traffic areas, such as hallways, kitchens, or commercial spaces, demand extra attention when finishing hardwood floors. You should consider applying additional coats of polyurethane if the floor experiences heavy foot traffic or frequent wear and tear. For water-based finishes, three coats of water-based polyurethane are often sufficient, but adding a fourth coat can provide extra protection. Ensure each layer dries completely before applying the next. Lightly sanding between coats with fine-grit sandpaper improves adhesion and creates a smoother finish.
Benefits of extra coats in high-traffic or commercial areas
Adding extra coats of polyurethane enhances the durability of your wood floors. Multiple layers create a thicker barrier against scratches, dents, and stains. This is especially important in high-traffic areas where floors endure constant use. For example:
- A popular restaurant chain applied water-based polyurethane in their dining areas. The additional coats resulted in a polished appearance that withstood daily wear and tear.
- An auto dealership used oil-based polyurethane in their showroom. The extra layers provided a glossy, durable surface that highlighted the vehicles on display.
These examples demonstrate how extra coats can extend the lifespan of your floors while maintaining their aesthetic appeal.
Maintenance Tips for Longevity
Regular cleaning and care for wood floors
Proper maintenance ensures your floors retain their beauty and durability over time. Follow these tips to keep your hardwood floors in excellent condition:
- Sweep or dust-mop daily using a soft, microfiber mop to remove dirt and debris.
- Use a hardwood-specific vacuum with a soft brush attachment to avoid scratching the surface.
- Clean spills immediately to prevent moisture damage.
- Choose gentle, hardwood-safe cleaners to preserve the finish.
Regular care minimizes wear and keeps your floors looking their best.
Recoating schedules for high-traffic settings
Recoating your floors periodically helps maintain their protective layer. The frequency depends on the type of finish and the level of traffic. For high-traffic areas, consider the following recoating schedules:
| Finish Type | Lifespan | Recommended Recoating |
|---|---|---|
| Water-Based Polyurethane | 5–10 years | Every 3–5 years |
| Oil-Based Polyurethane | 10–15 years | Every 5–7 years |
| Hardwax Oil | 2–5 years | Every 1–2 years |
By adhering to these schedules, you can extend the life of your floors and maintain their polished appearance.
Applying the right number of coats of polyurethane ensures your hardwood floors remain durable and visually appealing. Water-based polyurethane typically requires 3-4 coats, while oil-based finishes need 2-3 coats for optimal results. Proper preparation and application techniques enhance the appearance of your floors and provide long-lasting protection. These layers of polyurethane guard against scratches, water damage, and wear, especially in high-traffic areas. A water-based polyurethane finish also offers environmental benefits and preserves the natural look of wood. By following these steps, you can maintain the beauty and durability of your hardwood floors for years to come.
FAQ
What happens if you don’t sand between coats of polyurethane?
Skipping sanding between coats can result in poor adhesion. The surface may feel rough, and the finish might peel or bubble over time. Sanding ensures each layer bonds properly, creating a smooth and durable finish.
Tip: Use fine-grit sandpaper (220 or higher) for best results.
What tools work best for applying polyurethane?
The best tools depend on the type of polyurethane. Use synthetic brushes or foam applicators for water-based finishes. For oil-based polyurethane, natural bristle brushes or lambswool applicators provide smooth coverage.
- Water-Based: Synthetic brush or foam applicator
- Oil-Based: Natural bristle brush or lambswool applicator
What is the difference between drying and curing time?
Drying time refers to when the surface feels dry to the touch. Curing time is when the polyurethane fully hardens and reaches maximum durability. Water-based finishes cure in about 7 days, while oil-based finishes take up to 14 days.
Note: Avoid heavy traffic or placing furniture during the curing period.
What should you do if bubbles form during application?
Bubbles often form due to over-brushing or shaking the polyurethane can. To fix this, sand the surface lightly with fine-grit sandpaper after the coat dries. Apply the next coat carefully using smooth, even strokes.
What is the lifespan of a polyurethane finish?
The lifespan depends on the type of polyurethane and floor usage. Water-based finishes last 5–10 years, while oil-based finishes can last 10–15 years. Regular maintenance and recoating extend the finish’s durability.
| Polyurethane Type | Lifespan |
|---|---|
| Water-Based | 5–10 years |
| Oil-Based | 10–15 years |
Tip: Recoat high-traffic areas every 3–5 years for water-based finishes and 5–7 years for oil-based finishes.




