
An excellent polyurethane finish gives your wood floors a beautiful, durable shine. Coating floor polyurethane yourself can seem daunting. You can achieve a professional-grade floor finish with the right approach. This guide simplifies the process into five key steps. Following these steps ensures a durable, long-lasting polyurethane coating.
- Prepare the Surface: Create a clean, smooth foundation for the polyurethane.
- Cut In the Edges: Detail the perimeter for a neat application.
- Apply the First Coat: Lay down the initial layer of polyurethane.
- Sand Between Coats: Ensure proper adhesion for subsequent layers.
- Apply the Final Coat: Build up the final protective polyurethane layers.
Step 1: Prepare the Surface for a Flawless Finish
A great floor finish starts with excellent preparation. You must create a perfectly smooth and clean surface. This step ensures your polyurethane adheres correctly for a durable, professional look.
Choose Your Polyurethane: Oil-Based vs. Water-Based
First, you need to select the right polyurethane for floors. Your choice affects the final look, durability, and application process. Oil-based polyurethane provides a warm, amber glow and is highly durable. Water-based polyurethane dries faster, has a clearer finish, and is more eco-friendly.
Pro Tip: Consider ventilation when making your choice. Oil-based polyurethane releases more volatile organic compounds (VOCs). High-quality water-based options can have up to 50% lower VOC content, making them a better choice for indoor air quality.
Sand the Floor to Create a Smooth Base
Sanding removes old finishes and creates a smooth surface for the new polyurethane finish. You should start with a coarse grit and move to finer grits. This progression ensures you remove imperfections without damaging the wood. The right sequence helps the polyurethane absorb evenly.
| Grit | Coarseness | Recommended Use |
|---|---|---|
| 36 | Coarse | For newly installed floors with uneven boards. |
| 60 | Medium | Removes scratches left by the 36-grit paper. |
| 80-100 | Fine | Smooths the floor for the final polyurethane coat. |
Improper sanding can ruin your project. Be careful to avoid these common issues:
- The polyurethane may peel or flake over time.
- The sealant might pool in certain areas.
- Leftover dust and oils can prevent proper adhesion.
Vacuum and Clean for a Dust-Free Surface
Dust is the enemy of a smooth floor finish. You must remove all sanding dust before applying the first coat. Use a vacuum designed for hardwood floors. Models with a soft brush roll or suction-only heads work best. Canister vacuums like a Miele or SEBO are excellent choices. Avoid vacuums with aggressive beater bars that can scratch the wood.
After vacuuming, use a tack cloth to pick up any remaining fine dust.
- Unfold and bunch up the tack cloth.
- Gently wipe the entire floor surface.
- Do not press too hard to avoid leaving a sticky residue.
This final cleaning step guarantees a flawless and durable polyurethane finish.
Step 2: Cut In the Edges for Clean, Professional Lines
Cutting in creates a clean border around the room’s perimeter. This step ensures you can apply the main coat of polyurethane without hitting baseboards or walls. A neat edge is the hallmark of a professional job. You will apply a 2- to 3-inch band of polyurethane around the entire floor.
Select the Right Brush
Your choice of brush is crucial for a smooth application. The right brush holds the polyurethane well and applies it without leaving streaks. For an oil-based polyurethane, you should use a natural-bristle brush.
- Natural-Bristle Brushes: These brushes use animal hair, like ox or badger hair. They are excellent for applying oil-based polyurethane smoothly. The Purdy Ox-O-Angular brush is a great example, blending ox hair and China bristle for a perfect finish.
- Foam Brushes: You can use a foam brush for smaller projects or tight corners. They are a good, disposable option.
Pro Tip: Always use a high-quality brush. A cheap brush can shed bristles into your polyurethane finish, creating imperfections that are difficult to fix.
Master the Cut-In Technique
Proper technique prevents lap marks where the cut-in edge meets the main floor. You want to create a seamless transition. Start in a corner and work your way along the wall. Apply the polyurethane in a thin, even layer. Always maintain a wet edge to help the finish blend smoothly.
Feathering the edge is the secret to avoiding visible lines. This technique creates a soft, thin transition.
- After applying the polyurethane along a section, do not dip your brush again.
- Use the nearly dry brush to lightly drag the tip over the inner edge of your line.
- Apply just enough pressure to smooth out any puddles or bubbles.
- Do this only once for each line to avoid overworking the polyurethane.
This careful approach ensures your edges blend perfectly with the rest of the floor for a flawless result.
Step 3: The First Step in Coating Floor Polyurethane
You have prepared the surface and cut in the edges. Now you are ready for the main event: coating floor polyurethane. This first coat is the foundation for a durable and beautiful floor finish. Proper application here is essential for a professional result.
Pick the Best Applicator for the Job
Choosing the right tool helps you apply polyurethane evenly across the main floor area. Your choice depends on the type of polyurethane and the size of your room.
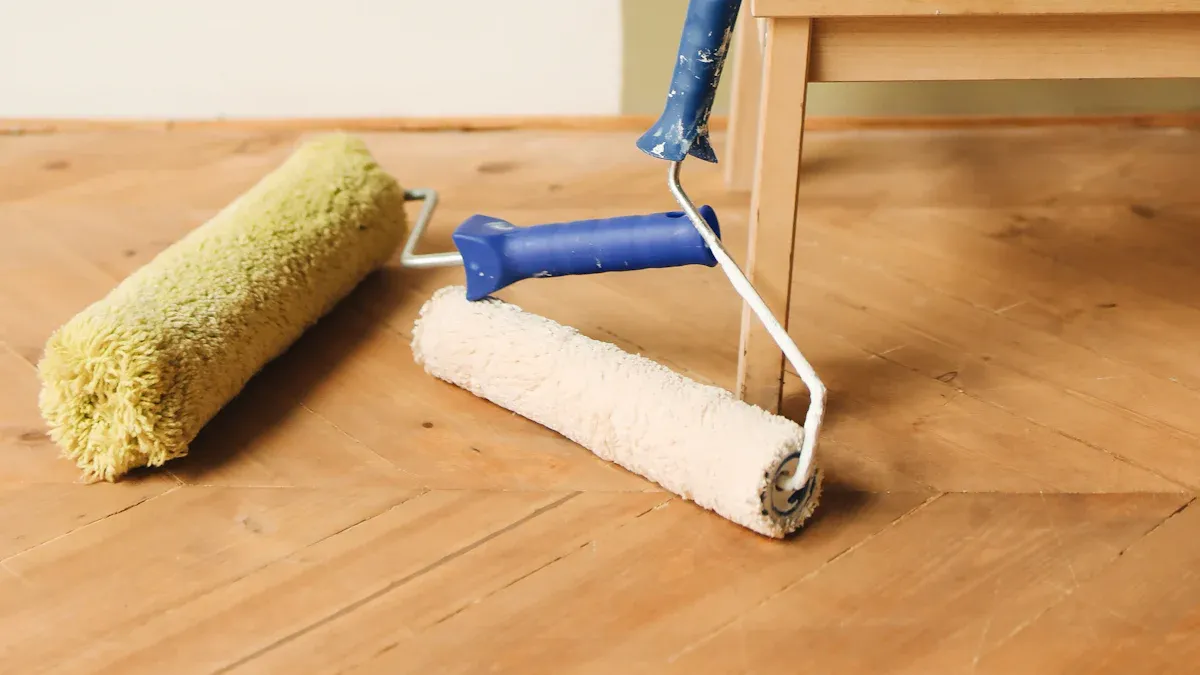
- Lambswool Applicator: This is a classic choice for applying oil-based polyurethane. It holds a lot of finish and is excellent for achieving a smooth, even coat on large floors. Many professionals recommend it for a flawless polyurethane finish.
- T-bar Applicator: You should use a T-bar or a roller for water-based polyurethane. A T-bar is great for large areas and can push the polyurethane precisely into corners.
Pro Tip: Always follow the manufacturer’s recommendation for the best applicator. Using the right tool ensures the polyurethane spreads correctly for a durable floor finish.
Apply the First Coat Evenly
Now it is time to apply the first coat of polyurethane. Start at the wall farthest from your exit and work your way out of the room. Pour a small amount of polyurethane onto the floor and spread it with your applicator. Overlap each pass slightly to ensure full coverage.
Bubbles are a common issue. You can prevent them with a few simple techniques.
- Thin your first coat of polyurethane by 5 to 25 percent. This helps the polyurethane seal the wood pores.
- Use slow, deliberate strokes with your applicator. Fast movements can introduce air into the finish.
- Ensure the room has good ventilation. Open windows allow solvents to escape properly.
This careful approach helps you create a smooth, bubble-free base for your polyurethane finish.
Step 4: Sand Between Coats for Maximum Adhesion
After the first coat, you will notice small imperfections like dust nibs or raised wood grain. Sanding between coats of polyurethane is a critical step. It smooths these minor flaws and scuffs the surface. This light abrasion creates a “mechanical tooth” that helps the next coat of polyurethane stick firmly, ensuring a stronger, more durable finish.
Allow for Proper Drying Time
Patience is key before you begin sanding. You must let the polyurethane dry completely. For oil-based polyurethane, you should generally wait 4 to 6 hours before applying another coat. Always check the can for the manufacturer’s specific instructions. Temperature and humidity greatly affect drying times.
Did You Know? 🧐 The ideal conditions for drying polyurethane are:
- Temperature: 70°F to 85°F (21°C to 29°C)
- Humidity: Low to moderate levels
High humidity can significantly slow down the drying process. A warm, dry room helps the polyurethane cure faster and harder.
Lightly Sand the Surface
Your goal is to scuff the surface, not remove the polyurethane you just applied. A light touch is all you need. Use a fine-grit sandpaper to gently smooth the floor. Be careful not to over-sand. A sign of over-sanding is when you see the wood stain or bare wood appear from underneath the finish.
Follow this sanding sequence for a silky-smooth result:
- Use 320-grit sandpaper after the first coat to knock down dust and raised grain.
- Use 400-grit sandpaper after the second coat to fix any bubbles.
- Use 600-grit sandpaper before your final coat for the smoothest possible surface.
Clean Away All Sanding Dust
Dust is the biggest enemy of a perfect polyurethane finish. You must remove every particle before applying the next coat. First, vacuum the entire floor thoroughly with a soft brush attachment. Then, wipe the surface to pick up any fine dust left behind. For oil-based polyurethane, you can use a cloth lightly dampened with mineral spirits. Make sure the floor is completely dry before you proceed. If the polyurethane is not fully cured, mineral spirits can soften the finish. A final wipe with a tack cloth will capture any remaining dust.
Step 5: Apply the Final Coats for Ultimate Durability
You are on the final step to achieving a beautiful and durable floor. Applying the final coats of polyurethane builds the protective finish that will guard your wood for years. This stage requires the same care as the first coat to ensure a flawless result.
Apply the Second (and Third) Coat
After sanding and cleaning the first coat, you are ready to apply polyurethane again. Use the same techniques you mastered for the first coat. Work from the far corner toward your exit, maintaining a wet edge to avoid lap marks. This process creates a strong, durable polyurethane finish.
How many coats should you apply? The answer depends on your polyurethane type and the room’s traffic.
- Oil-based polyurethane is thick, so two coats are often enough for standard rooms.
- Water-based polyurethane is thinner. You should apply a minimum of three to four coats for a durable floor finish.
- For high-traffic areas like kitchens and hallways, an extra coat provides greater durability and protection.
Remember to lightly sand and thoroughly clean the floor between each application. This ensures each layer of polyurethane bonds perfectly to the last.
Understand the Full Curing Timeline
Your floor may feel dry to the touch in a few hours, but it is not fully cured. Curing is the chemical process where the polyurethane hardens completely. This can take several days or even weeks. Rushing this process can ruin your new floor finish.
Patience is a Virtue! 🕰️ “Dry time” is when the surface is no longer tacky. “Cure time” is when the polyurethane reaches maximum hardness. A full cure is essential for a long-lasting protective finish.
Follow this general timeline to protect your investment:
- Light Foot Traffic (Socks Only): You can typically walk on the floor after 24 hours for water-based polyurethane. Oil-based polyurethane requires more time, usually 48-72 hours.
- Moving Furniture: Wait at least 72 hours before placing furniture back in the room. Do not drag items across the floor. Lift and place them carefully.
- Placing Rugs: You should wait at least one week before putting down area rugs. The polyurethane finish needs to breathe to cure properly. Covering it too soon can trap solvents and soften the finish.
You now have the five steps for coating floor polyurethane like a professional. Your patience during the drying and curing phases is the secret to success. Rushing can cause issues like bubbles in the polyurethane. A full cure ensures a durable polyurethane finish with maximum durability for your wood flooring. This durable result makes coating floor polyurethane a rewarding project. Remember to reapply a coat of polyurethane every 3-6 years to keep your durable floor protected and looking great.
FAQ
Can I apply polyurethane over an existing finish?
Yes, you can apply a new coat over an old one. You must first clean the floor thoroughly. Then, you need to lightly sand the surface to create good adhesion for the new polyurethane. This ensures the new coat sticks properly.
How do I fix bubbles in my polyurethane?
You can fix bubbles after the coat dries. Lightly sand the area with fine-grit sandpaper until the bubbles disappear. Clean away all the dust. Then, you can apply your next coat of polyurethane for a smooth finish.
What is the best temperature to apply the finish?
The ideal temperature helps the finish cure correctly. You should apply polyurethane when the room temperature is between 70°F and 85°F. Avoid applying it in very hot, cold, or humid conditions for the best results.
How long should I wait between coats?
Drying time is very important. You should generally wait 4 to 6 hours between coats. However, you must always check the manufacturer’s instructions on the can. Different products have specific recoat times that you need to follow.




