
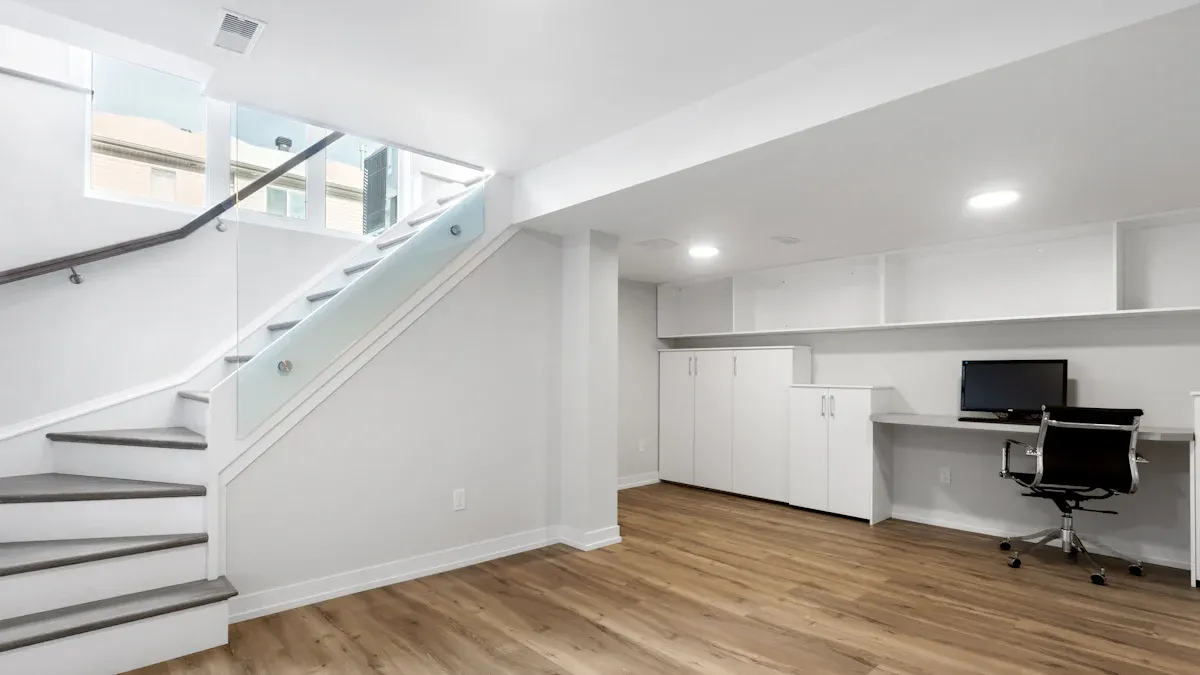
Transforming your stairway with vinyl plank flooring can significantly enhance its appearance and functionality. You will appreciate the cost-effectiveness of this option, as it often costs less than hardwood or tile. Additionally, the aesthetic versatility allows you to choose designs that mimic natural materials. Safety is another advantage; the slip-resistant nature of vinyl makes it a smart choice for homes with kids or elderly members. With the right tools and some guidance, you can easily install vinyl plank floor on stairway platform and achieve a professional look without hiring a contractor.
Benefits of Vinyl Plank Flooring for Stairs
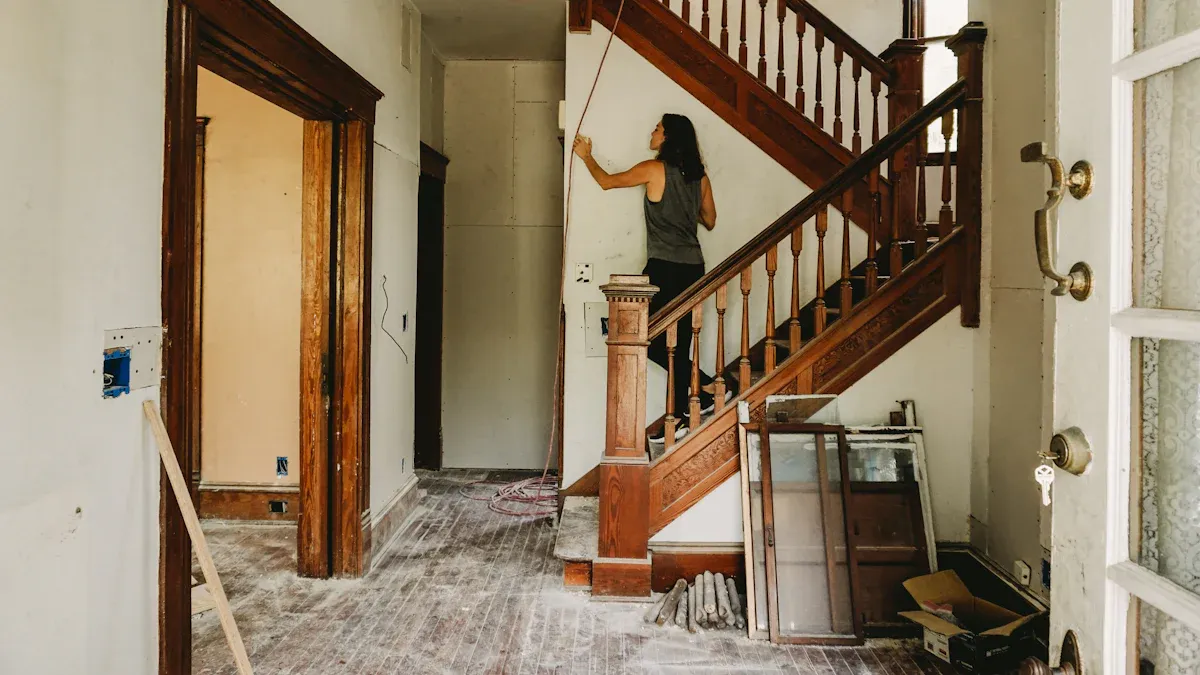
Vinyl plank flooring offers numerous benefits that make it an excellent choice for your stairs. Here are some key advantages:
-
Durability: Luxury Vinyl Plank (LVP) is designed to withstand heavy foot traffic. It resists scratches, stains, and fading, ensuring that your stairs maintain their appearance over time. This flooring can handle spills and daily wear and tear, making it a practical option for busy households. Unlike carpet, which can absorb liquids and harbor mold, vinyl flooring on stairs remains moisture-resistant. This feature significantly reduces the risk of mold or mildew.
-
Slip Resistance: Safety is a top priority, especially on stairs. Vinyl plank flooring is known for its superior slip resistance compared to traditional materials like hardwood and tile. Its textured surfaces enhance grip, making it a safer choice for homes with children or elderly individuals. You can feel confident knowing that your stairs will be less slippery, even in wet conditions.
-
Low Maintenance: Maintaining vinyl plank flooring is straightforward. Its durability means it can last between 10 to 20 years with proper care. The wear layer protects against scuffs and scratches, making it ideal for high-traffic areas like stairs. Cleaning is easy due to its resistance to dust and dirt, eliminating the need for refinishing, unlike hardwood or tile. You can keep your stairs looking great without a lot of effort.
-
Aesthetic Appeal: Vinyl plank flooring comes in a variety of styles and colors. You can choose designs that mimic natural materials, allowing you to create a stylish look that complements your home decor. This versatility means you can transform your stairs into a stunning focal point.
Preparing to Install Vinyl Plank Floor on Stairway Platform
Before you begin to install vinyl plank floor on stairway platform, proper preparation is essential. This ensures a smooth installation process and a beautiful final result. Here’s what you need to do:
Tools and Materials Needed
Gathering the right tools and materials will make your installation easier. Here’s a list of what you’ll need:
- Vinyl Planks: Choose the style and color that fits your home.
- Utility Knife: For cutting the planks to size.
- Measuring Tape: To ensure accurate measurements.
- Straight Edge: Helps guide your cuts.
- Adhesive: Depending on the type of vinyl flooring you choose.
- Trowel: For spreading adhesive evenly.
- Safety Gear: Work gloves and safety goggles to protect yourself during installation.
Assessing Your Stairway
Before you start installing vinyl flooring, assess your stairway. This step is crucial for a successful project. Here are some key points to consider:
- Acclimation: Allow the vinyl planks to rest in the installation area for at least 48 hours. This helps them adjust to the room’s temperature and humidity.
- Subfloor Preparation: Clean the subfloor thoroughly. Ensure it is dry and check for any unevenness. Sand down high spots and fill in low ones to create a smooth surface.
- Baseboard Removal: Remove baseboards and trim before installation. This ensures a tight fit of the planks against the walls, preventing gaps and uneven edges.
Safety is also important when preparing your stairway. Always wear work gloves and safety goggles. Consider using knee pads to reduce discomfort while working on the stairs. Be aware that vinyl stairs can be slippery, especially when wet. Look for vinyl planks with textured surfaces or non-slip features to enhance safety. If slipperiness is a concern, consider adding a stair runner for extra grip.
By taking these preparatory steps, you set yourself up for a successful installation of vinyl flooring on your stairs.
Step-by-Step Installation of Vinyl Plank Flooring
Installing vinyl plank flooring on your stairs can seem daunting, but breaking it down into manageable steps makes the process easier. Follow these instructions to achieve a professional-looking finish.
Measuring Your Stairs
Accurate measurements are crucial for a successful installation. Here’s how to measure your stairs effectively:
- Measure Each Tread and Riser: Use a measuring tape to determine the width and depth of each stair tread. Measure the height of each riser as well. Write down these measurements for reference.
- Account for Expansion Gaps: Leave a small gap (about 1/8 inch) around the edges of the planks to allow for expansion. This gap helps prevent buckling due to temperature changes.
- Double-Check Your Measurements: Mistakes in measurement can lead to wasted materials and time. Always double-check your numbers before cutting.
Cutting Vinyl Planks
Once you have your measurements, it’s time to cut the vinyl planks to fit your stairs. Follow these steps:
- Use a Utility Knife: A utility knife works best for cutting vinyl planks. Ensure your blade is sharp for clean cuts.
- Cut to Size: For each tread, cut the plank to the measured width and depth. For the risers, cut the planks to the height you measured.
- Test Fit: Before applying adhesive, test fit each plank to ensure they fit snugly against the stair edges. Adjust as necessary.
Tip: Avoid common mistakes during installation. Ensure you do not install the vinyl plank flooring backward, as this can complicate the locking process. Also, maintain proper alignment and stagger seams to avoid H-joints.
Installing the Planks
Now that you have your planks cut, it’s time to install them. Follow these steps for a successful installation:
- Gather Your Materials: Ensure you have all necessary tools and materials ready, including adhesive or double-sided tape.
- Apply Adhesive: Depending on the type of vinyl plank flooring you choose, apply adhesive to the back of each plank according to the manufacturer’s instructions.
- Start from the Bottom: Begin installation at the bottom stair tread. Press each plank firmly into place, ensuring it adheres well.
- Continue Up the Stairs: Work your way up, installing planks on each tread and riser until you reach the top.
- Install Stair Nosing (Optional): For added safety and a finished look, consider adding stair nosing at the edge of each tread.
- Final Touches: Check for any loose edges and make adjustments as needed. Clean up any excess adhesive to ensure a neat appearance.
By following these steps, you can successfully install vinyl plank flooring on your stairs, enhancing both their beauty and durability.
Finishing Touches
After you install the vinyl plank flooring on your stairs, it’s time to focus on the finishing touches. These details can elevate the overall look and ensure safety. Here are some essential steps to complete your project:
-
Install Stair Nosing: Adding stair nosing is crucial for both safety and aesthetics. This piece covers the edge of each tread, providing a smooth transition between the stair and the floor. It also helps prevent wear and tear on the vinyl stairs. Choose a nosing that matches your vinyl plank flooring for a cohesive look.
-
Seal the Edges: To protect your installation, consider sealing the edges of the vinyl planks. Use a clear silicone caulk to fill any gaps between the planks and the wall or baseboards. This step prevents moisture from seeping underneath and enhances the durability of your flooring.
-
Reinstall Baseboards and Trim: Once the vinyl flooring is in place, reinstall the baseboards and trim. This step hides any rough edges and gives your stairs a polished appearance. Ensure that the trim fits snugly against the new flooring to avoid gaps.
-
Final Cleaning: After completing the installation, clean the stairs thoroughly. Use a damp mop or cloth to remove any dust or debris. Avoid using harsh chemicals that could damage the vinyl plank flooring. A gentle cleaner will keep your stairs looking fresh and new.
-
Safety Check: Finally, conduct a safety check. Walk up and down the stairs to ensure everything feels secure. Check for any loose planks or edges that may need additional adhesive. Make sure the stair nosing is firmly in place and that there are no slippery spots.
By paying attention to these finishing touches, you can ensure that your vinyl plank flooring installation looks professional and functions well. These details not only enhance the beauty of your stairs but also contribute to a safer environment for your family.
Tips for Measuring and Cutting Vinyl Plank Flooring
Accurate measurements are vital for a successful vinyl flooring installation on stairs. You want to ensure that each plank fits perfectly, enhancing both the appearance and safety of your stairs. Here are some tips to help you measure and cut effectively.
Accurate Measurements
To achieve precise measurements, gather the right tools. Use a measuring tape, carpenter square, and T-square to ensure accuracy. Here’s a quick list of essential tools:
- Measuring Tape
- Carpenter Square
- T-Square
- Level
- Safety Gear (gloves, goggles, knee pads)
Start by measuring each tread and riser. Record the width and depth of every tread, along with the height of each riser. Always account for expansion gaps of about 1/8 inch around the edges. This gap allows the vinyl to expand and contract without buckling. Double-check your measurements before cutting to avoid mistakes that could waste materials.
Cutting Techniques
Once you have your measurements, it’s time to cut the vinyl planks. Use the right tools for the job, such as a jigsaw with an 80-tooth blade or a circular saw. Here are some effective cutting techniques:
- Score the vinyl to create clean breaks. This method helps you achieve a straight edge.
- Make test fits to ensure proper alignment before final installation. This step saves you time and effort.
- Handle complex cuts with patience. Make gradual adjustments to avoid mistakes.
Always prioritize safety when cutting. Wear safety goggles and gloves to protect yourself from sharp edges and debris. By following these tips, you can ensure a precise fit for your vinyl flooring installation on stairs, enhancing both its beauty and safety.
Adhesive Options for Vinyl Plank Flooring Installation
Choosing the right adhesive is crucial for a successful vinyl plank flooring installation on your stairs. The adhesive you select impacts the durability and stability of the flooring. Here are some common adhesive options you can consider:
Types of Adhesives
-
Pressure-Sensitive Adhesive: This type is ideal for vinyl plank flooring. It creates a strong bond while allowing flexibility under foot traffic. This flexibility helps keep the planks securely in place, ensuring they last longer.
-
Construction Adhesive: You can use this adhesive on steps. It provides a solid hold and works well for various applications.
-
Roberts 7350: This adhesive is specifically recommended for treads. It offers excellent bonding strength for vinyl planks.
-
Sika 11FC: This adhesive is suitable for stair nosing. It ensures a secure fit and enhances safety.
-
Silicone: You can use silicone for adhering treads and risers. However, for stair noses, Liquid Nails or Loctite are preferred options.
Using the correct adhesive is essential for maintaining the durability and stability of vinyl planks on stairs. Proper application techniques, such as evenly spreading the adhesive with a trowel, further enhance the longevity of the flooring.
Application Methods
When applying adhesive, follow these steps for the best results:
-
Prepare the Surface: Ensure the stair surface is clean and dry. Remove any dust or debris that could interfere with adhesion.
-
Apply Adhesive Evenly: Use a trowel to spread the adhesive evenly across the surface. This step is crucial for achieving a strong bond.
-
Press the Planks Firmly: After applying the adhesive, press each vinyl plank firmly into place. Ensure there are no air bubbles trapped underneath.
-
Allow for Curing Time: Follow the manufacturer’s instructions regarding curing time. This waiting period allows the adhesive to set properly.
By selecting the right adhesive and applying it correctly, you can ensure a successful installation of vinyl plank flooring on your stairs. This attention to detail will help your stairs look great and stand the test of time.
Maintenance of Vinyl Plank Flooring on Stairs
Maintaining your vinyl plank flooring on stairs is essential for keeping them looking great and lasting longer. Regular cleaning and proper care can prevent wear and tear, ensuring your stairs remain a beautiful feature in your home.
Cleaning Tips
To keep your stairs clean, follow these simple tips:
- Sweep or Vacuum Regularly: Clean your stairs at least once a week to maintain their appearance. Daily sweeping or vacuuming helps remove dirt and debris, especially in high-traffic areas.
- Use the Right Cleaning Products: Choose safe and effective cleaning products to avoid damaging the vinyl. Here’s a handy table of recommended products:
| Cleaning Product | Purpose |
|---|---|
| Microfiber Mop or Soft-Bristle Broom | Captures dust and dirt without scratching the surface. |
| pH-Neutral Floor Cleaner | Cleans effectively without leaving residue or damaging the vinyl. |
| White Vinegar and Water Solution | Natural cleaner that cuts through grease and grime without leaving a film. |
| Rubbing Alcohol | Spot cleaning for tough stains without damaging the vinyl. |
| Avoid Wax-Based Cleaners | Can create a dull, sticky film that attracts dirt. |
| Avoid Oil-Based Soaps | Leaves a residue that dulls the finish and attracts dust. |
| Avoid Ammonia-Based Cleaners | Can strip the protective wear layer, leading to dullness. |
| Avoid Bleach | Can discolor vinyl and break down the wear layer. |
| Avoid Abrasive Cleaners | Will scratch the wear layer, permanently damaging the finish. |
Long-term Care
Long-term care for your vinyl plank flooring on stairs is just as important as regular cleaning. Here are some tips to help you maintain their beauty:
- Inspect Regularly: Check your stairs for any signs of damage or wear. Early detection can help you address issues before they become serious.
- Avoid Excessive Moisture: While vinyl is water-resistant, excessive moisture can still cause problems. Wipe up spills immediately to prevent water from seeping underneath the planks.
- Use Rugs or Mats: Place rugs or mats at the top and bottom of your stairs. This helps catch dirt and moisture, reducing wear on the vinyl.
- Follow a Cleaning Schedule: Stick to a routine. Regular cleaning and maintenance will keep your stairs looking fresh and new.
By following these cleaning tips and long-term care practices, you can ensure that your vinyl plank flooring on stairs remains attractive and durable for years to come.
Cost Analysis of Vinyl Plank Flooring for Stairs
When considering vinyl plank flooring for your stairs, understanding the costs involved is essential. This analysis will help you make informed decisions about your project.
Material Costs
The material costs for vinyl plank flooring can vary significantly. On average, you can expect to pay between $2 and $7 per square foot, with a typical price around $4.50. Luxury vinyl planks start at approximately $6 per square foot. Here’s a quick comparison of material costs for different flooring types:
| Flooring Type | Cost per Square Foot (Materials) | Cost per Square Foot (Installed) |
|---|---|---|
| Hardwood | $4 to $15 | $11 to $25 |
| Laminate | $1 to $6 | $4 to $14 |
| Luxury Vinyl | $2 to $10 | $4 to $16 |
This table shows that vinyl plank flooring is often more affordable than hardwood, making it a popular choice for homeowners.
Installation Costs
Installation costs can add up quickly, especially for stairs. You might pay an additional $1 to $6 per square foot for installation. Factors influencing these costs include:
- Complexity of Installation: Stairs require more precise cuts and additional labor.
- Condition of Subfloor: If your subfloor needs extensive preparation, this can increase labor costs.
- Additional Services: Services like removing old flooring can add to your overall expenses.
Stairs add complexity to vinyl installations. Each step needs precise cuts for treads and nosing pieces, requiring extra time from installers. This detailed work results in increased labor fees per stair compared to flat areas of your home.
Budgeting for Your Project
When budgeting for your vinyl plank flooring project, consider all potential costs. The installation of luxury vinyl flooring is a key expense. While some homeowners may consider a DIY approach, hiring professionals ensures the job is done correctly. On average, installation costs for vinyl plank flooring range from $1.50 to $5 per square foot.
Keep in mind that if you’re removing existing vinyl flooring or preparing subfloors, this can add to the overall cost. If you have irregularly shaped rooms or tricky areas like staircases, the installation may take more time and effort, further increasing the expense.
By planning your budget carefully, you can manage costs effectively and achieve a beautiful stairway transformation.
Vinyl plank flooring can truly transform your stairs, enhancing both their beauty and functionality. With benefits like durability, waterproofing, and easy maintenance, you can enjoy a stylish stairway without the hassle.
Consider these key advantages:
- Durability: Lasts up to 20 years with proper care.
- Waterproof: Resists moisture damage and staining.
- Easy Installation: Simple tongue and groove design makes it accessible for DIY enthusiasts.
You can achieve a professional finish by following expert recommendations, such as ensuring proper measurements and using adhesive for stability. A stylish stairway is within your reach, making your home more inviting and appealing.
Embrace the change and elevate your space with vinyl plank flooring!
FAQ
What is vinyl plank flooring?
Vinyl plank flooring is a durable, water-resistant flooring option that mimics the look of hardwood or tile. It consists of multiple layers, providing comfort and stability. You can install it easily in various areas of your home, including stairs.
How do I clean vinyl plank flooring?
To clean vinyl plank flooring, sweep or vacuum regularly to remove dirt. Use a damp mop with a pH-neutral cleaner. Avoid harsh chemicals or abrasive tools that can damage the surface. This simple routine keeps your floors looking fresh.
Can I install vinyl plank flooring on stairs myself?
Yes, you can install vinyl plank flooring on stairs yourself. With the right tools and preparation, you can achieve a professional finish. Follow the step-by-step instructions provided in this guide for a successful DIY project.
How long does vinyl plank flooring last?
Vinyl plank flooring can last between 10 to 20 years with proper care. Regular cleaning and maintenance help extend its lifespan. Choosing high-quality materials also contributes to durability and longevity.
Is vinyl plank flooring slippery?
Vinyl plank flooring can be slippery, especially when wet. To enhance safety, choose planks with textured surfaces or consider adding stair runners. These options provide better grip and reduce the risk of slips and falls.




