
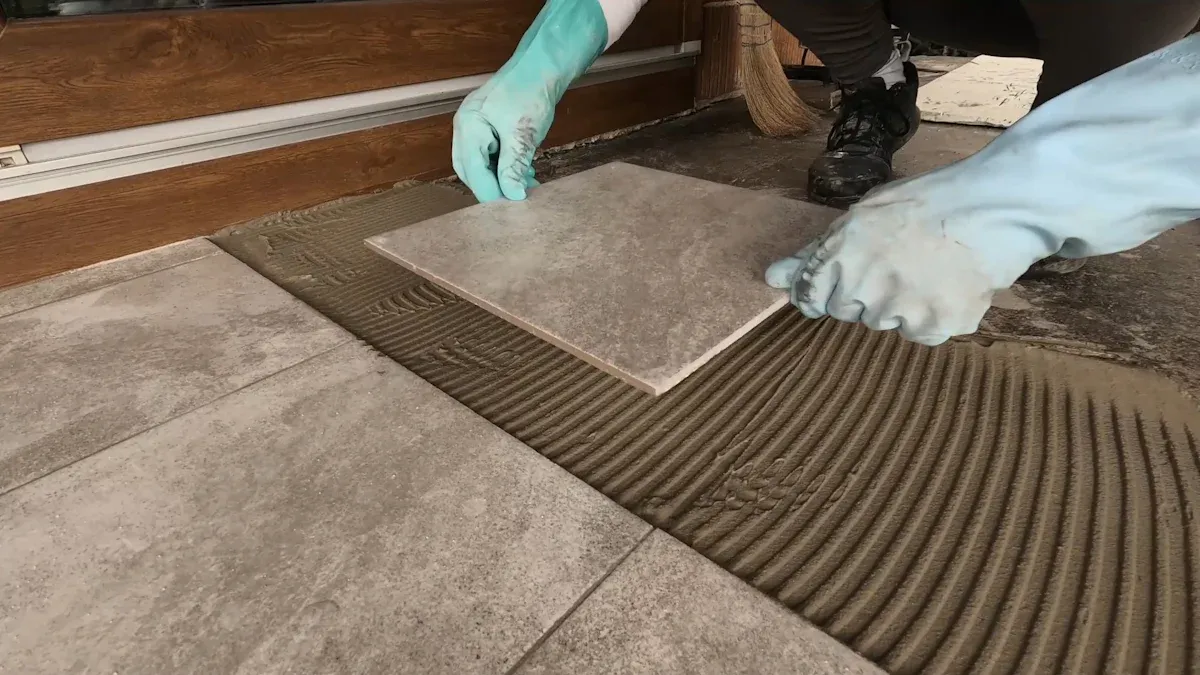
Achieving a perfect vinyl plank flooring herringbone pattern is easier than you think. This style not only enhances the beauty of your space but also offers practical benefits. For instance, herringbone SPC vinyl flooring resists wear and tear, making it ideal for families with children or pets. Its waterproof nature ensures spills and humidity won’t affect it. With various colors and patterns available, you can achieve the look of wood or stone without breaking the bank. Plus, the integrated click-lock system allows for fast, DIY installation without the need for adhesives or nails.
Preparation for Installation
Selecting the Right Vinyl Plank
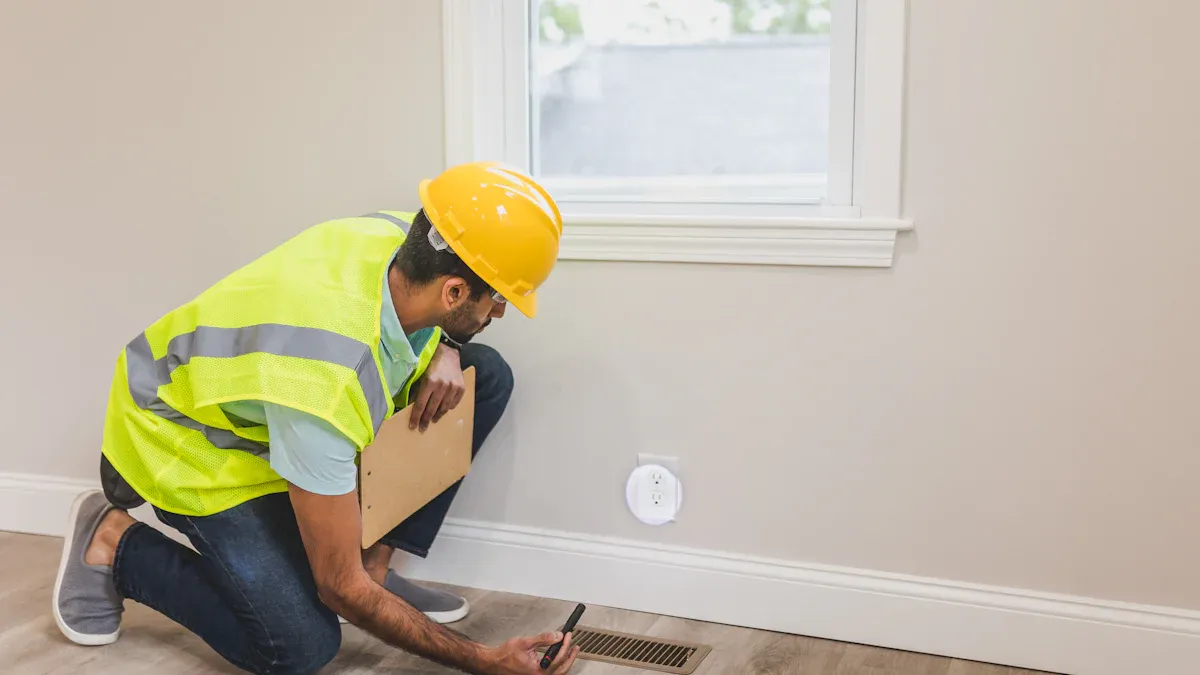
Choosing the right vinyl plank is crucial for achieving a stunning herringbone flooring design. Consider the following key factors when making your selection:
| Key Factors to Consider | Description |
|---|---|
| Planning and Measurements | Start from the room’s center point and establish precise reference lines for accurate pattern alignment throughout installation. |
| Adhesive Application | Apply adhesive in small workable sections and use spacers to maintain consistent expansion gaps around the perimeter. |
| Regular Pattern Checks | Check angles with a carpenter’s square every three rows to ensure the herringbone pattern maintains perfect alignment. |
| Quality Tools | Use a quality utility knife with fresh blades and a rubber mallet for precise cuts and secure plank placement. |
| Subfloor Preparation | Conduct thorough subfloor preparation, addressing moisture issues and leveling uneven spots before starting installation. |
| Layout Considerations | Consider the room’s natural light sources and main entry points when planning the herringbone design. |
| Pattern Direction | Align the pattern parallel or diagonal to the walls to enhance the room’s aesthetics and perceived space. |
Assessing and Preparing the Subfloor
Before you install your herringbone rigid click vinyl, you must prepare your subfloor properly. A well-prepared subfloor ensures a smooth and durable finish. Follow these guidelines:
- Ensure that concrete is dry, clean, and level within 5mm over a 3-meter radius.
- Use a Portland cement-based leveling compound for low spots and grind high spots.
- For wood subfloors, they must be smooth, flat, and structurally sound, with a minimum thickness of 2.54 cm.
- Cover crawl spaces with poly film to reduce moisture vapor transmission.
- If existing resilient flooring is present, it should be well adhered and smooth. Address any high or low spots with leveling compounds to prevent telegraphing through the new flooring.
According to industry standards, subfloor variations should not exceed 3/16 inch over 10 ft. This prevents visible seams and warranty disputes. Additionally, concrete moisture should not exceed 5LBS per 1000 ft² for a 24-hour period or 80% relative humidity.
Gathering Necessary Tools and Materials
Having the right tools and materials is essential for a successful installation. Here’s a list of what you need:
- Measuring tape
- Chalk line
- Utility knife
- Square
- Level
- Spacers
- Rubber mallet
- Safety gear (knee pads, gloves, protective eyewear)
- LVT planks (plus 10% extra)
- Quality underlayment
- Adhesive (if not using click-lock)
- Transition strips
- Cleaning kit
With these tools and materials, you can confidently tackle your DIY herringbone vinyl plank installation.
Step-by-Step Installation Process
Marking the Starting Point
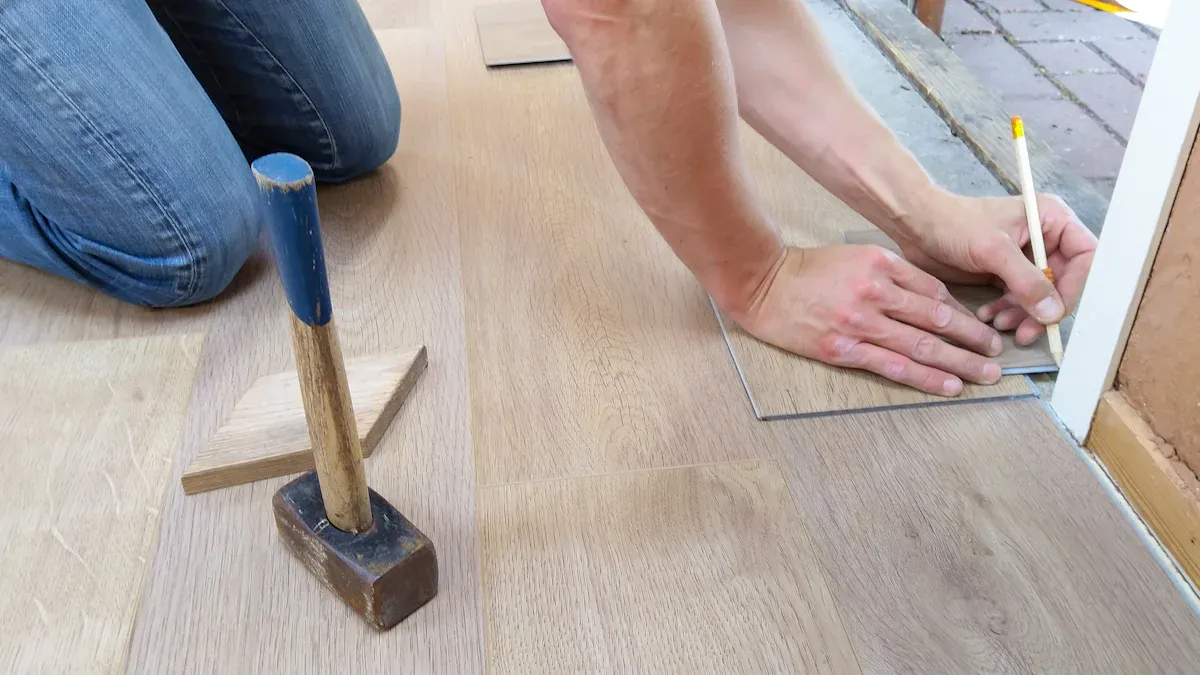
To achieve a symmetrical herringbone pattern, you must start by marking the center point of the room. This step is crucial for ensuring a balanced layout. Here’s how to do it:
- Measure the length and width of the area.
- Mark the halfway points on each side.
- Use a chalk line or laser level to create a crosshair at the intersection of these points.
Tip: Finding and marking the center point accurately enhances precision. Use a laser level to draw a straight reference line from the center. This line will guide your installation process. Check the angles of the walls and floor to ensure symmetry.
Laying the First Row
Laying the first row of planks sets the tone for the entire installation. Follow these best practices to prevent misalignment:
- Ensure your flooring material acclimates for at least 24 to 48 hours in the installation area.
- Position the left plank along the marked line. Align the right plank next to it.
- Check the 90° angle between the planks using a square.
- Apply adhesive if you are not using a click-lock system. Press firmly to secure the planks.
| Step | Action | Time Required |
|---|---|---|
| 1 | Position left plank | 2-3 minutes |
| 2 | Align right plank | 2-3 minutes |
| 3 | Check 90° angle | 1-2 minutes |
| 4 | Apply adhesive | 3-4 minutes |
| 5 | Press firmly | 1-2 minutes |
Note: Double-check measurements before applying adhesive. Maintain consistent pressure when setting each plank. Avoid walking on seams during the first 12 hours post-installation.
Continuing the Herringbone Pattern
Once the first row is laid, you can begin to continue the herringbone pattern. Here are some techniques to maintain alignment:
- Maintain consistent angles and spacing while laying rows.
- Frequently check pattern alignment using chalk lines as reference points.
- Measure and mark reference points every few rows to ensure visual flow.
- Step back periodically to view progress from different angles to spot inconsistencies.
Tip: Draw precise reference lines from the center point to create a reliable framework. Extend two perpendicular lines to form a perfect 90-degree angle. Use a chalk line to snap straight lines that extend wall to wall, ensuring accuracy.
By following these steps, you will successfully lay herringbone LVT flooring that looks professional and polished.
Cutting and Fitting Planks
Cutting and fitting planks is a critical step in achieving a flawless herringbone pattern. You want to ensure that each piece fits snugly, especially around corners and edges. Here are some effective methods to help you with this process:
-
Choose the Right Tools: Using the right tools makes cutting easier and more precise. Here’s a list of recommended tools for achieving precise cuts in herringbone vinyl plank installations:
Tool Description Guillotine Recommended for straight cuts; effective for herringbone patterns. Jigsaw Versatile tool for making intricate cuts, especially around corners. Blades Use blades suited for the material: plastics for hybrid vinyl, wood/laminate for wood-based cores. -
Measure Twice, Cut Once: Always measure your planks carefully before cutting. This rule helps you avoid mistakes that can lead to wasted material.
-
Fitting the Planks: When fitting the planks, ensure they align perfectly with the existing rows. Use spacers to maintain consistent gaps. This practice allows for expansion and contraction, which is essential for floating floors.
-
Trimming for a Perfect Fit: Pay special attention to edges where the planks meet walls or door frames. You may need to trim the planks at unusual angles. Always cut slowly and steadily to ensure accuracy.
Tip: If you encounter a difficult corner, consider using a jigsaw for more intricate cuts. This tool allows for better maneuverability than a straight-cutting tool.
Finishing Touches
Once you complete the installation, it’s time for the finishing touches. These steps ensure your herringbone flooring looks professional and polished. Here are some techniques used by professionals:
-
Precise Measurements: Accurate measurements are essential for achieving a flawless herringbone pattern. Find the room’s center point and snap chalk lines to guide your installation.
-
Layout Planning: Lay out a few rows of planks without adhesive to visualize the pattern. This step allows you to make adjustments before committing to the final layout.
-
Consistent Angles and Spacing: Maintain precise 45-degree angles and consistent spacing between planks. This practice creates a professional finish that enhances the overall look of your herringbone flooring.
-
Edge Cutting: Trim edges where the pattern meets walls and doorways. This technique ensures a clean look and maintains the flow of the herringbone pattern.
-
Adhesive Application: If you use adhesive, apply it carefully to ensure a lasting installation. Select the right adhesive for your subfloor to maximize durability.
To address edge gaps and transitions, follow these steps:
- Measure and cut LVT planks to create clean edges at doorways and changeover points.
- Install transition strips to bridge gaps between different flooring types, ensuring a seamless connection.
- Carefully cut and fit border tiles to maintain the flow of the herringbone pattern.
By following these cutting and finishing techniques, you can achieve a stunning herringbone vinyl plank flooring that elevates your space.
Tips for Success
Ensuring Accurate Measurements
Accurate measurements are vital for a successful herringbone vinyl plank installation. They help you avoid costly mistakes and ensure a perfect fit. Use the following tools to achieve precise measurements:
| Tool | Purpose |
|---|---|
| Tape Measure | Precisely measure spaces to ensure a flawless fit for luxury vinyl flooring. |
| Paper and Pencil | Take measurements and calculate the size of space for square footage areas. |
| Laser Measuring Tools | Measure larger spaces effortlessly and navigate challenging-to-reach places with precision. |
Inaccurate measurements can lead to several issues:
- You may end up with a surplus of flooring materials, wasting money and space.
- Conversely, ordering too little can cause delays and mismatches if you need additional materials.
- Accurate measurements are essential for a smooth and cost-effective installation.
Maintaining Consistent Spacing
Consistent spacing between planks is crucial for achieving a professional look in your herringbone pattern. Here are some tips to help you maintain even gaps:
- Use quality spacers to keep consistent spacing between planks. Even minor gap variations can be noticeable in herringbone patterns.
- Regularly check the spacing as you work. This practice helps you catch any inconsistencies early on.
Tip: Step back periodically to view your progress from different angles. This technique allows you to spot any spacing issues before they become permanent.
Using the Right Adhesive
Choosing the right adhesive is essential for a successful installation. The wrong adhesive can lead to several problems. Here are some recommended adhesives:
- Recommended Adhesive: Shaw 200 (or equivalent/comparable adhesive).
- Note: If you use alternative adhesives, perform a bond test to ensure compatibility.
Using the wrong adhesive can lead to issues such as excessive application causing indentations, undulations from foot traffic, and visible damage. Manufacturers recommend protecting the floor from foot traffic for 24 hours and rolling-load traffic for 72 hours to prevent these problems.
By following these tips for success, you can ensure a smooth and professional-looking herringbone vinyl plank installation.
Common Mistakes to Avoid
Skipping Preparation Steps
Many DIY enthusiasts rush into installation without proper preparation. Skipping these steps can lead to significant issues later. Always ensure you assess your subfloor and gather the necessary tools before starting. A well-prepared subfloor provides a solid foundation for your herringbone rigid click vinyl flooring. Neglecting this can result in uneven surfaces and visible seams.
Incorrect Plank Orientation
Plank orientation plays a crucial role in achieving a stunning herringbone pattern. Follow these guidelines to avoid mistakes:
- Measure your room’s dimensions and mark the center point to serve as an anchor for the herringbone pattern.
- Test different angles for plank orientation, typically 45 or 90 degrees, to find the most visually appealing direction.
- Position the first plank at a 45-degree angle to your reference line, then place the second plank perpendicular to create the V-shape.
Incorrect orientation can disrupt the flow of your design and lead to an unprofessional appearance. Take your time to ensure each plank aligns perfectly with your planned layout.
Neglecting Expansion Gaps
One of the most critical mistakes you can make is neglecting expansion gaps. Vinyl planks need room to expand and contract with changes in temperature and humidity. If you don’t leave a 1/4-inch expansion gap around the perimeter, temperature or humidity changes may cause the flooring to buckle or warp.
| Expansion Gap Size | Description |
|---|---|
| 1/4 inch to 3/8 inch | Recommended gap around all edges of the room, including fixed objects and doorways. |
| 1/4 inch (6.35 mm) | Required perimeter expansion space; undercut doorjambs and do not fasten moldings to planks. |
For larger rooms, additional expansion space is necessary. For example, if your room exceeds 25 feet, add 1/16 inch for every 3 feet, up to 40 feet. If it goes beyond 40 feet, use a t-mold in addition to the extra expansion space.
By avoiding these common mistakes, you can ensure a successful DIY herringbone vinyl plank installation that looks professional and lasts for years.
Achieving a perfect herringbone pattern involves several key steps:
- Select the right vinyl planks.
- Prepare your subfloor thoroughly.
- Mark your starting point accurately.
- Lay the first row with precision.
- Continue the pattern carefully.
- Cut and fit planks snugly.
- Add finishing touches for a polished look.
Take your time during the installation. Enjoy the process and embrace the creativity involved. Remember, practice makes perfect. With patience and effort, you can achieve stunning, professional-looking results in your space. 🌟
FAQ
What is herringbone vinyl plank flooring?
Herringbone vinyl plank flooring features planks arranged in a zigzag pattern. This design adds visual interest and elegance to any space. It combines the durability of vinyl with the classic look of traditional herringbone patterns.
How do I clean herringbone vinyl plank flooring?
To clean your herringbone vinyl plank flooring, use a damp mop and a gentle cleaner. Avoid harsh chemicals and abrasive tools. Regular sweeping or vacuuming helps remove dirt and debris, keeping your floor looking fresh.
Can I install herringbone vinyl plank flooring over existing floors?
Yes, you can install herringbone vinyl plank flooring over existing floors, provided they are smooth, clean, and well-adhered. Ensure the subfloor meets the necessary requirements for a successful installation.
How long does it take to install herringbone vinyl plank flooring?
The installation time varies based on room size and your experience level. Generally, you can complete the installation in one to two days. Proper preparation and planning can help speed up the process.
Is herringbone vinyl plank flooring waterproof?
Yes, herringbone vinyl plank flooring is waterproof. This feature makes it an excellent choice for areas prone to moisture, such as kitchens and bathrooms. You can enjoy the beauty of herringbone without worrying about water damage.




